 Alert the media! I have finished something. And I mean finished as in I could put it on and wear it in public. Which I will tomorrow morning.
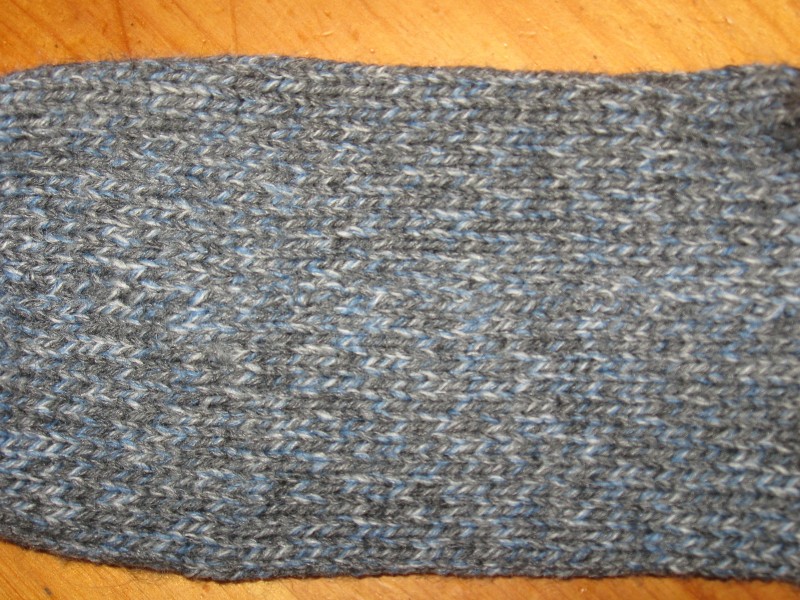
Socks, made on the LK150! I started these early in the new year, before mid-February when we put the house for sale. Then they got packed somewhere and I found them this fall. I was hoping to get them finished in Socktoberfest, but I would have had to try just a little bit harder. I was putting it off because I still had to seam the second sock.
First off...the recipe comes from here. I used the tutorial but did them from toe up--I was working with a finite amount of stash yarn--Schoeller-Esslinger Fortissimma 6 ply. I prefer the S-E Fortissimma 4 ply, and lighter weight socks, however, since I can't wear my regular shoes anymore thanks to a bunion, I think the thicker yarn will be better in my clog-ish shoes.
I notice on the toes that one edge starts a row sooner so it's more squarish on the other edge. Almost like a left and right sock. That's logical as they're done with short rows.
I'm not sure about the fit. I do think they should have been a couple stitches bigger, and the foot a few rows longer, but I find that the short row heel does not come up high enough on the back of my heel. If I was doing them by hand, I assume I could have used more than half the sts for the heel, but on the machine, you make it from one edge (which is along the side of the foot) to the half way point, and the toe is made the same way but on the other half of the sts. So the seam runs right up one side along the outer 'point' of the short row heel. On the sock on the left, it runs down the leg to the upper left corner of the dark grey heel, then down to the toe. So, you can't take more than half the sts. If you look at the link, you can see the sock in progress which explains it a LOT better, LOL. I'm wondering if on the top portion of the heel, could I do two short rows per every needle pulled out of work for part way across? Would it make the line where the short rows meet too bumpy? Or, I might put the sts on waste yarn and finish them by hand using the afterthought heel with decreases... I figure I could stretch it out better. Any other ideas?
I also was not keen about doing the ribbing on the machine, as I was new to it, and it was dark grey yarn in a dimly lit room. So I took them off the machine, did the seam, then did the ribbing in the round. I had less main yarn than expected (but enough for another round or two), and more dark grey than expected. They look a little out of balance. With the cuff folded down they look rather cute and will make good 'wear with shorts and sandals while camping' socks.
 The seam is called a Bickford seam. I learned it from Marg Coe (of Omemee, Ontario) who is in various Yahoo machine knitting groups.
 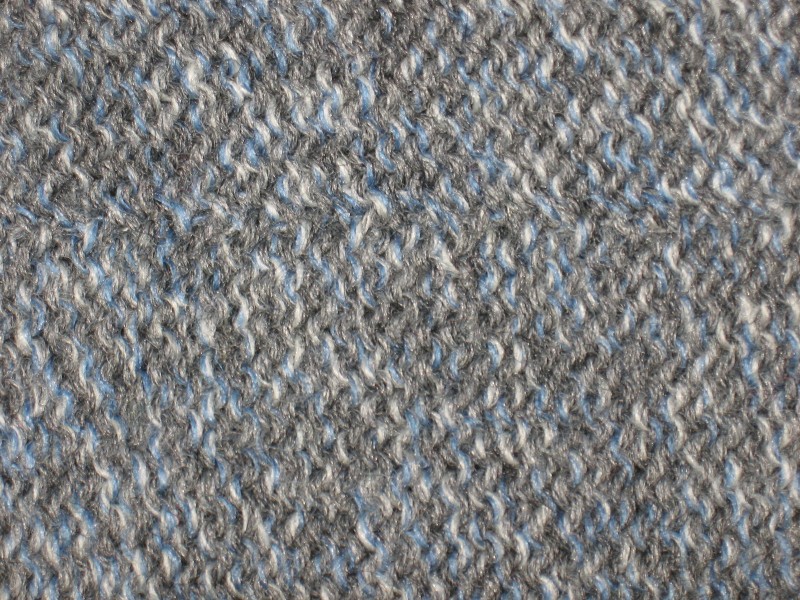 It makes a pretty good flat seam. You can sort of see/feel the ridge on the right side, but really, you can't feel it on the inside. I did have some problems lining up the edges where the toe meets the foot and there's a bit of a bulge. But oh well, it's a first. Can you see it in the photos? On the outside one, it's about half way down, on the inside shot, it's about 1/3 of the way down. That's the first one I did. I couldn't find the original instructions, so she posted them again but they were written a little differently and I think I did it a little differently. But it's still acceptable!
Will I make socks on the machine again? I think so! I bought two balls of the self patterning type yarn at the K-W Knitter's Fair, and I've already done a swatch with one, but I think I'll need to do another when it's time to actually make it. There's another technique I want to try that seams them as you go. I think it's great for the plain (or self patterning yarns) socks. I don't know about lace...although I have done lace on the machine... However, I have a box full of Kroy 3 ply and I think that'll be a touch fine on the LK150. So....I'll just have to get more suitable yarns :)
No comments:
Post a Comment