My to-do list is not getting shorter! These items were on my longer to-do list, planning to do them later in the summer. They're for my "grandma" as a thank you for letting the kids ride her horse briefly last summer. I figured I'd make them before we go out there again. Well, she's dropping by this afternoon to give Hugh his birthday gift, so I got to it!
This is another neck cooler. After our afternoon there last summer, I looked around for some horsey fabric, but couldn't find any (not even through Freecycle). A month or so later I found some nice quality horse print at Value Village! It's a bit larger print than I would have liked, but oh well. I wanted it a little wider in the tails, and my fabric was about 5" longer than I normally use, but that's okay. I kept the length for the crystals the same, and centered the width that I normally use and sewed a tunnel (I normally cut it 4" wide, this time it was ...uh...there's just shy of 3/8" on each side...so that's 3/4" wider times 2, so it's a total of 5 1/2" wide?).

Next, I wanted to make a snack bag. I wanted to use PUL to line it, but worry about the food-safeness of it (some sites say it's NOT food safe, some say it's not TESTED one way or the other), so I got some gold taffeta like fabric. I sewed the three pieces together, turned right side out, tucked the open ends in and topstitched closed. I wish I had pressed the seams first. Then I followed the directions here.

However, the tutorial doesn't mention anything about using one way prints! LOL! The seams inside were a little bulky, but at least it's not the raw edges like if I had just held the pieces together. But if there's a better way to make it double sided, let me know!
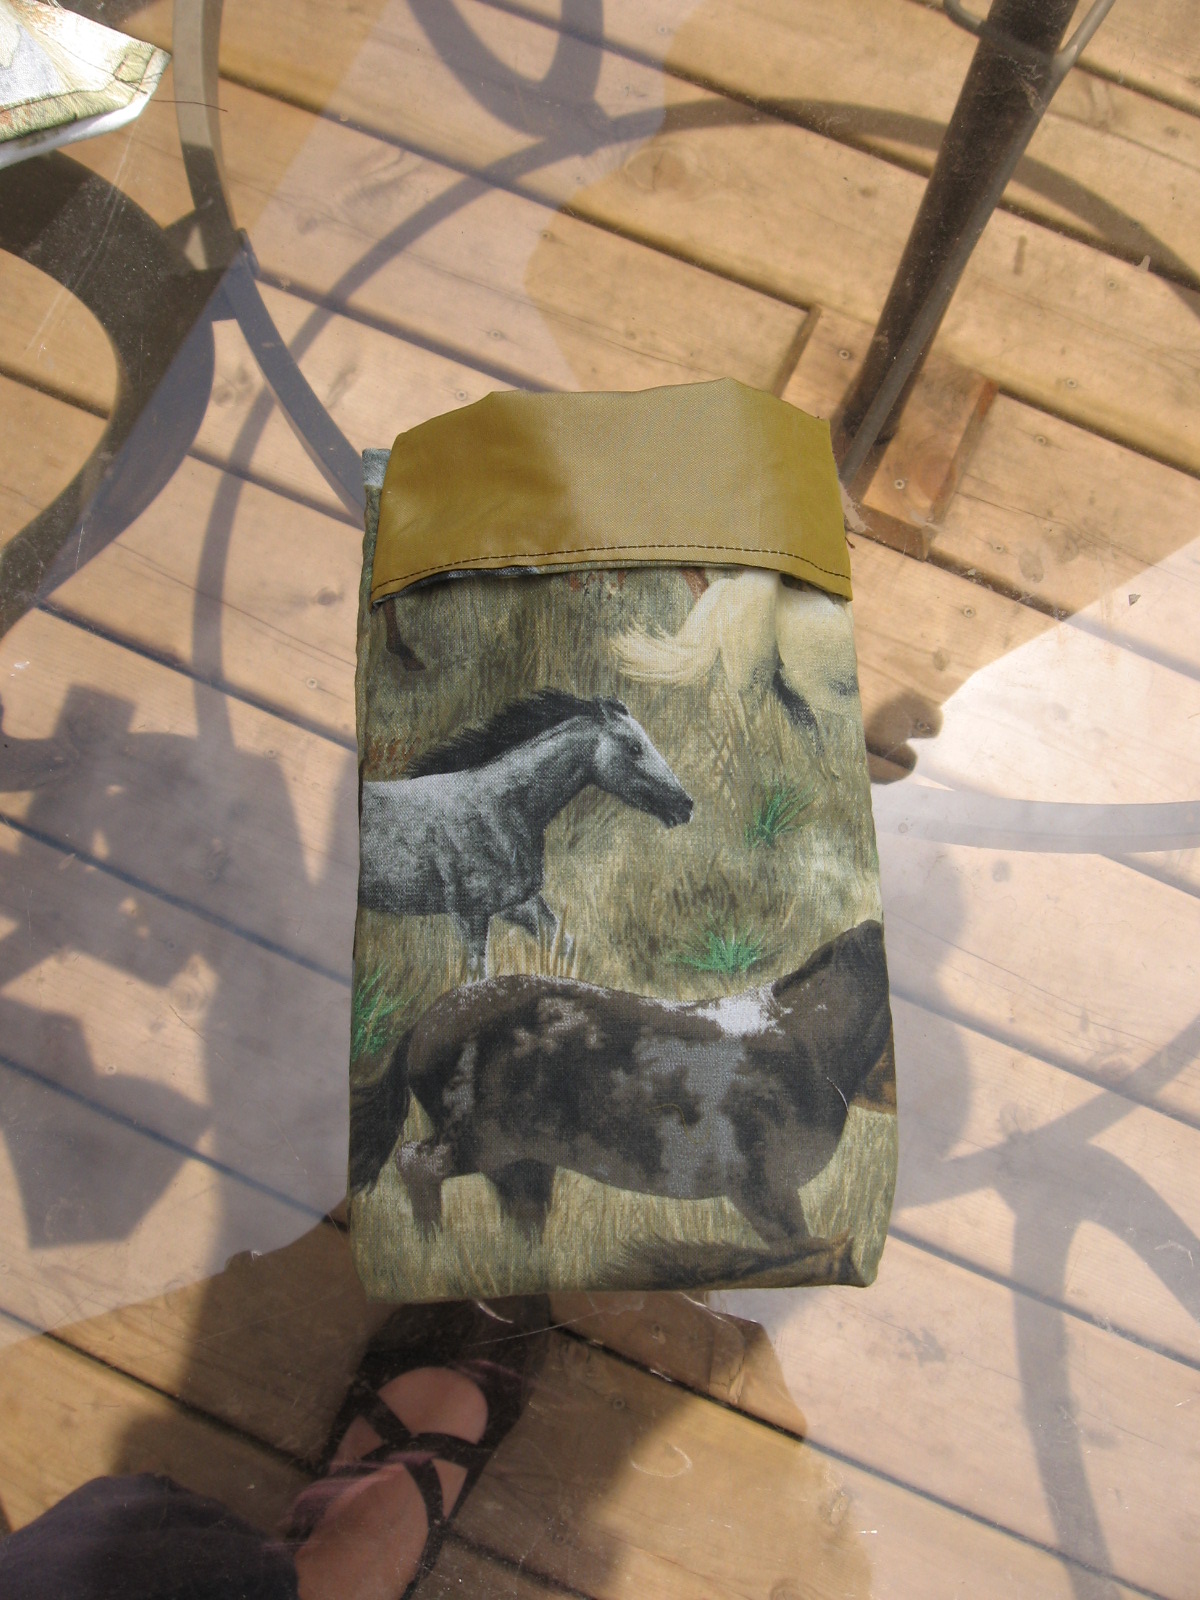


I folded the inside edge over and stitched it down, but for the flap, I fringed it a little and left it for that rustic look.
I've got lots more fabric pulled out to make more!
No comments:
Post a Comment